Creating the application
In this part we are going to create a new Feathers application using the generator.
Generating the application
With everything set up let's create a directory for our new app:
$ mkdir feathers-chat
$ cd feathers-chat/
Now we can generate the application:
$ feathers generate app
When presented with the project name just hit enter, or enter a name (no spaces).
Next, enter in a short description of your app.
The next prompt asking for the source folder can be answered by just hitting enter. This will put all source files into the src/ folder.
The next prompt will ask for the package manager you want to use. The default is the standard npm.
Note: Choosing Yarn will make for faster installation times but requires Yarn installed globally via
npm install yarn -gfirst.
You're now presented with the option to choose which transport you want to support. Since we're setting up a real-time and REST API we'll go with the default REST and Socket.io options. So just hit enter.
Once you confirm the final prompt you will see something like this:
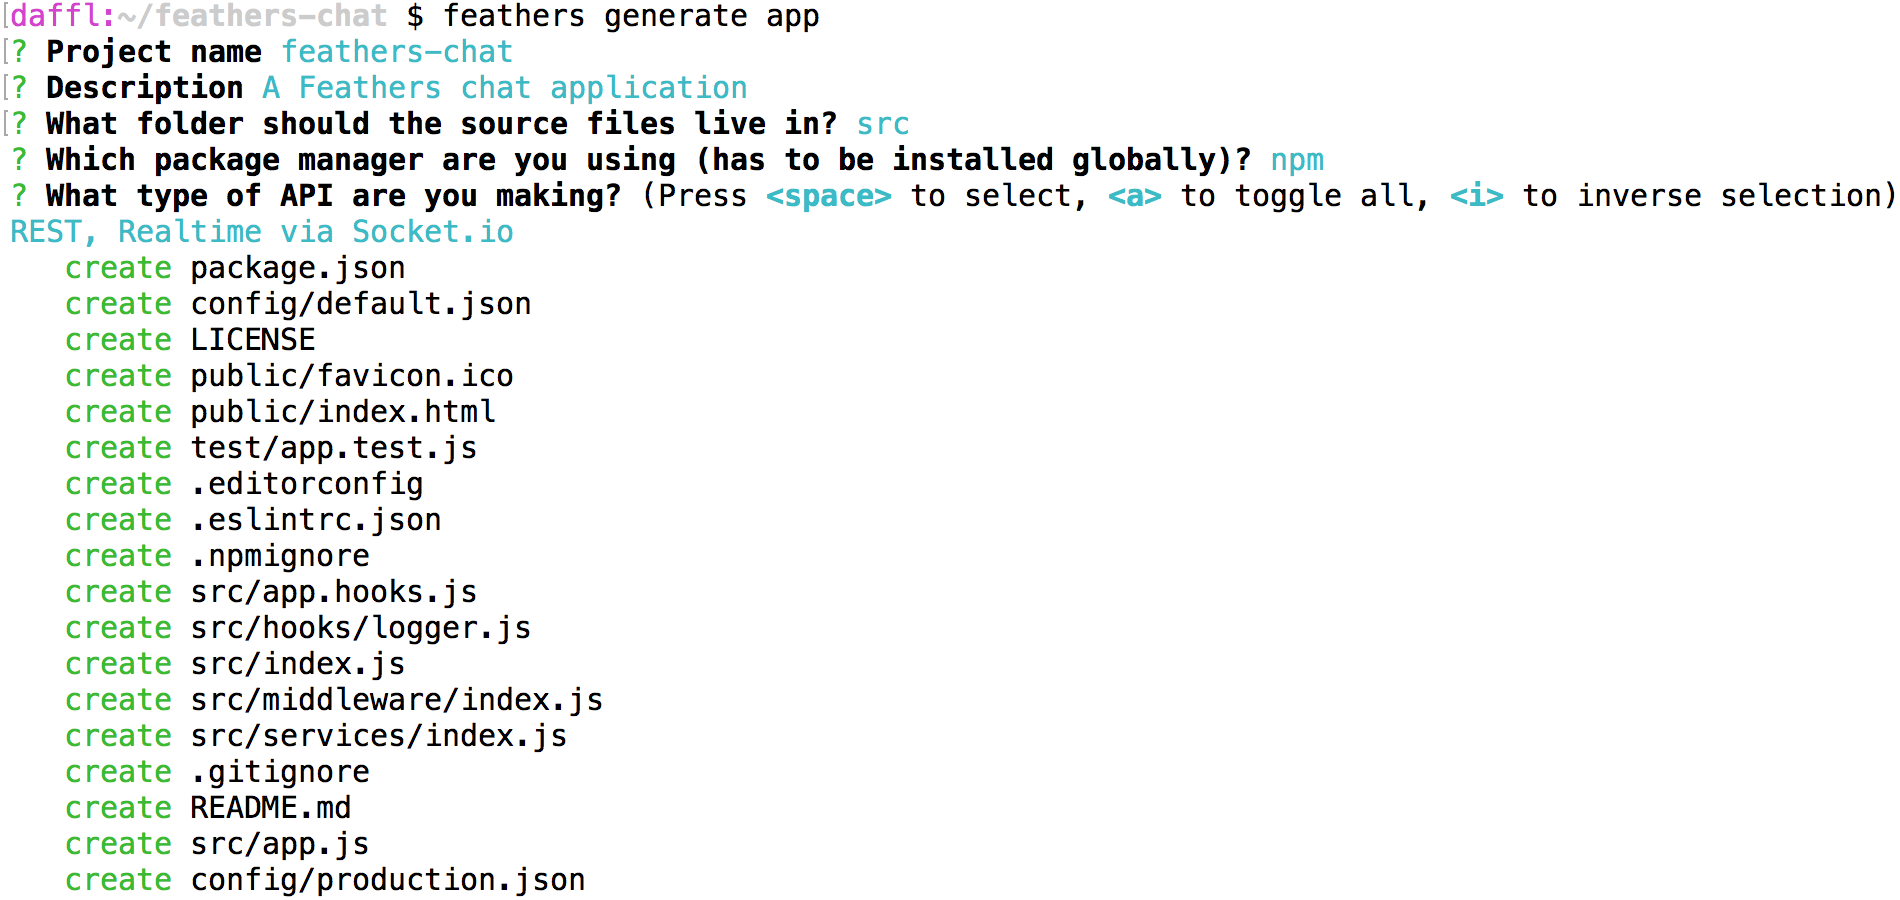
The structure and purpose of all those files that have just been created are covered in the generator chapter.
Running the server and tests
The server can now be started by running
npm start
After that, you can see a welcome page at localhost:3030. When making modifications, remember to stop (CTRL + C) and start the server again.
The app also comes with a set of basic tests which can be run with
npm test
What's next?
We scaffolded a new Feathers application. The next step is to create a service for messages.